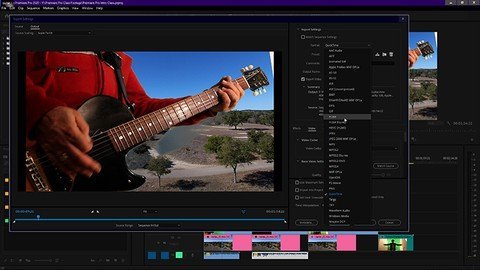
Premiere Pro Introductory Course TUTORIAL
Premiere Pro is found in most of the production facilities around the world so learning Premiere means there are many possibilities for employment. The program has really come into its own over the last decade. For example, David Fincher’s Gone Girl was the first major Hollywood production cut entirely on Premiere Pro. Although Premiere is a professional program, there are plenty of people learning Premiere who want to do their own projects. Premiere is perfect for professional settings as well as the home studio.
For those who are completely new to Premiere Pro and editing programs, and those wishing to take Premiere to a professional level, this course works its way through the fundamentals from the ground up and thoroughly covers the essentials, including: importing footage, organizing folders, creating sequences, trimming and rearranging footage, workflow considerations, transitions, effects, audio, Lumetri Scopes, exporting and archiving your project.
We begin with opening the program and learn how to generate a new project. We briefly discuss how to organize hardware like hard drives; is it better to have all internal drives? Or external drives? I break down what works well for most situations. What’s the difference between the CPU (Computer Processing Unit) and GPU (Graphics Processing Unit)? And why it’s important to know how each of them comes into play for editing software programs like Premiere Pro.
From there we move through the file import process and how to organize footage and assets to remain efficient. And then a tour of the User Interface with a thorough explanation of what the main panels do and what tools/functions are inside them. After we learn how to create a sequence (the footage we place on the timeline to create our project) we learn how to use a few essential tools and techniques to cut, place and rearrange our footage on the timeline within our sequence. We learn to add effects and how to adjust their parameters. We learn the Text Tool and some simple steps to animate the text. We demystify how to adjust audio and audio levels (it’s not difficult). The process of color grading is introduced in the form of learning a few essential tools such as Waveform, Vector and RGB Parade scopes. When the project is finished we learn how to export our sequence, and use a popular codec (mp4) to render out to a finished file to post on well known sites like Youtube. Lastly, we will go over how to Archive your project.
What you’ll learn:
- This course works its way from the ground up and thoroughly covers the fundamentals each step of the way, from import, to edit and finally to export
- Learn how to import footage, organize folders and create sequences on the timeline
- Learn how to trim and rearrange footage on timeline efficiently with a few tools and techniques
- Learn how to apply effects to files on the timeline, and adjust the parameters of audio and video effects
- Learn how to adjust and fine tune audio in the timeline using the audio clip mixer and the audio track mixer
- Learn how to simplify the user interface with a few always open panels
- Tour the preferences panel and pull down menus
- An introduction to using the Lumetri scopes for grading
- Learn to export your sequence from the timeline with the export panel
- Learn how to archive your project

